Farewell, Gates OS!! Installing Ubuntu on a dynabook!?
Here is what this post covers:
- Introduction
- Why I dropped WSL for native Ubuntu
- The players and the overall flow
- Steps
- A closer look at what happens underneath
- From power-on to the login screen
- What this teaches a software engineer
- Distros other than Ubuntu
- Wrapping up
- References
Introduction
Lately, carrying my MacBook Air around for work study and side projects has started to feel like a chore. It weighs about 1.23 kg, which doesn’t sound like much, but it wears me out after a day in my backpack.
So I looked for a lighter machine and decided to use an 845 g dynabook instead. dynabook is a Japanese laptop brand that used to belong to Toshiba.
The catch is that developing on Windows means going into Ubuntu inside WSL (Windows Subsystem for Linux) every single time. That got old fast, so I decided to wipe Windows and put Ubuntu on the whole machine.
This post covers the steps I took and, with diagrams, what was going on underneath.
Why I dropped WSL for native Ubuntu
Ubuntu on WSL2 is a lightweight virtual machine (VM) running next to Windows. Every time you use Linux, you cross the boundary between the two.
| Item | WSL2 | Native |
|---|---|---|
| Memory | Shared with Windows (the VM gets up to half by default) | All of it |
| Windows files | Slow to access through /mnt/c | No boundary |
| Getting started | Enter WSL every time | It’s Linux from boot |
If I have to cross that boundary every time anyway, running Linux directly on the hardware is simpler.
The players and the overall flow
| Name | Role |
|---|---|
| ISO | A single file containing Ubuntu and its installer |
| Rufus | A free Windows tool that turns the ISO into a bootable USB stick |
| USB stick | Holds the installer and is what the PC boots from |
| UEFI | The firmware that runs first when you power on |
| Installer | The program that wipes the SSD and writes Ubuntu to it |
| SSD | Where Ubuntu ends up. The PC boots from it afterwards |
UEFI stands for Unified Extensible Firmware Interface. It replaced the older BIOS (Basic Input/Output System), which is why people still call the firmware settings screen “the BIOS”.
Along the way, the OS doing the work changes from Windows to Ubuntu on the USB stick and then to Ubuntu on the SSD.
Steps
1. What you need
| Item | Where to get it |
|---|---|
| USB stick | 12 GB or more. Everything on it will be erased |
| Ubuntu ISO | The Desktop LTS image from ubuntu.com |
| Rufus | rufus-4.xx.exe from rufus.ie. No install needed |
2. Make the USB stick with Rufus
- Plug in the USB stick, start Rufus and check that it shows up under “Device”
- Pick the ISO with “SELECT”
- Set “Partition scheme” to
GPTand “Target system” toUEFI (non CSM) - Press “START”. If it says “ISOHybrid image detected”, keep the recommended “ISO Image mode”
GPT stands for GUID Partition Table, the format of the table that records how a disk is divided up. CSM (Compatibility Support Module) lets a PC boot the old BIOS way; with it disabled, the USB stick boots through UEFI only.
3. Boot from the USB stick
- Hold Shift and click Shut down
- Right after powering on, tap F2 to enter the BIOS (Setup Utility). On some models F12 opens a boot menu instead
- Put the USB stick first in the boot order and restart
- If it won’t boot, try setting Secure Boot to Disabled for now
Holding Shift avoids Windows Fast Startup. A normal shutdown saves the state of Windows to a file and the next boot resumes from it, so F2 sometimes doesn’t work.
4. Install
- Choose “Try or Install Ubuntu”
- Pick the language and keyboard layout directly (I picked Japanese for both)
- Connect to Wi-Fi
- Choose “Erase disk and install Ubuntu” (Windows is gone for good)
- Set the user name, password and time zone, then install
- When it’s done, remove the USB stick and restart
5. Initial setup
sudo apt update && sudo apt upgrade -y
sudo apt install -y git curl build-essential
For Japanese input, I added “Japanese (Mozc)” under Settings > Keyboard.
A closer look at what happens underneath
Here I go through the parts of the steps that caught my interest. First, a quick look at the file system terms that come up. A file system is the set of rules for how files are laid out and recorded on a disk.
| Term | In short |
|---|---|
| FAT32 | An old, simple file system also used by Windows. UEFI can read it |
| EFI System Partition (ESP) | A dedicated FAT32 partition UEFI reads at boot. Boot loaders live here |
| squashfs | A compressed, read-only file system. The OS inside the ISO uses it |
| tmpfs | A file system kept in memory. It’s gone after a reboot |
| overlayfs | Stacks two directories so they look like one |
Why you boot from USB
A running OS can’t wipe the SSD it is running from. Windows keeps using files on the SSD the whole time it’s up.
So you boot from a USB stick, which doesn’t use the SSD, and let the installer, running from USB and memory alone, wipe the SSD and write to it. The USB stick only holds the installer, so once the install is done you no longer need it.
Copying versus writing
If you just copy the ISO onto a USB stick, it won’t boot. UEFI looks for \EFI\BOOT\BOOTX64.EFI at a fixed place on a FAT32 partition, and it doesn’t look inside an .iso file.
Rufus’s ISO Image mode extracts the contents of the ISO and puts that file where UEFI expects it. DD Image mode just copies the ISO as is, but the Ubuntu ISO is a “hybrid ISO”: read as a disk, it already contains a partition table and a boot area. That’s why either mode boots.
UEFI and GPT
Older PCs boot with BIOS plus MBR (Master Boot Record); current PCs boot with UEFI plus GPT.
BIOS can’t read files. It runs the boot program stored in the first 512 bytes of the disk (the MBR), and that program loads the boot loader. UEFI, on the other hand, can read FAT32, so it can run an .efi file inside the EFI System Partition (ESP) by its file name.
| Item | MBR | GPT |
|---|---|---|
| Disk size | Up to 2 TiB | Effectively unlimited |
| Number of partitions | Up to 4 primary | 128 by default |
| If the table breaks | No backup | A backup at the end of the disk |
How the live session works
In short, the live session is Ubuntu running from the USB stick and memory alone, without being installed on the SSD. The installer is just one of the apps running in it.
When you boot from the USB stick, the GRUB menu shows these four options. The last two only appear when you boot through UEFI.
| Option | What it does |
|---|---|
| Try or Install Ubuntu | Starts the live session |
| Ubuntu (safe graphics) | Boots with nomodeset. For when the screen stays blank |
| Boot from next volume | Skips the USB stick and moves on to the next boot device |
| UEFI Firmware Settings | Opens the UEFI settings screen |
nomodeset tells the kernel not to let graphics drivers switch display modes (KMS). It helps when a GPU driver leaves the screen black.
Choosing “Try or Install Ubuntu” starts the live session without writing anything to the SSD.
The OS on the USB stick is squashfs, a compressed, read-only file system. tmpfs in memory is stacked on top of it with overlayfs, so every write goes to memory. That’s why your changes disappear when you reboot, and why the SSD is never touched.
What’s on the SSD after installing
The installer deletes all the Windows partitions and creates two: the ESP and an ext4 root.
Which file to boot is recorded in the NVRAM on the motherboard, not on the SSD. The installer registers a boot entry called “ubuntu” that points to \EFI\ubuntu\shimx64.efi, so Ubuntu starts even after you remove the USB stick. You can check all this with these commands.
lsblk -f              # partitions and file systems
sudo efibootmgr -v    # boot entries and boot order in NVRAM
mokutil --sb-state    # whether Secure Boot is on
From power-on to the login screen
An OS is made of three parts: the boot loader, the kernel and the root file system. When you power on, they start in this order.
Secure Boot is a UEFI feature that only starts programs whose signatures it can verify. Most PCs’ UEFI trusts Microsoft’s certificates, so Ubuntu starts from “shim”, a boot loader signed by Microsoft. shim carries Canonical’s (Ubuntu’s publisher) certificate and uses it to check GRUB’s signature and then the kernel’s.
That’s why Ubuntu usually boots with Secure Boot left on. If you turned it off during the steps, you can turn it back on after installing. Kernel modules you build on your own PC with DKMS, such as VirtualBox’s drivers, are the exception: you have to enroll your own key, a MOK (Machine Owner Key), and sign them with it.
What this teaches a software engineer
You can find the steps with a quick search, but following the mechanics teaches ways of thinking that carry over to everyday development.
First, you learn to narrow down a failure layer by layer. Whether it’s a PC that won’t boot or a web page that won’t load, checking one level at a time (firmware, boot loader, kernel, app) shows you where it stops.
Second, you get the habit of preparing the replacement somewhere else and then switching over. Just as a running OS can’t wipe its own SSD, it’s safer to bring up a new production environment next to the old one and then switch. That’s the idea behind blue-green deployment.
Third, containers start to make sense. Docker images and containers are stacked with overlayfs the same way as the live session. The image layers are the read-only lower layers, and changes made in the container go only into the upper layer. Deleting a container loses your changes for the same reason that rebooting the live session does.
Fourth, you become aware of where trust starts. Secure Boot’s signature checks follow the same idea as the HTTPS certificate chain and apt’s package signature checks. Once you know what is trusted first, you have a good idea of what to suspect when a certificate warning shows up.
Fifth, you get in the habit of checking where state is stored. The boot order turned out to live in the motherboard’s NVRAM rather than on the SSD, and settings often live somewhere you wouldn’t expect.
Distros other than Ubuntu
| Distro | Notes |
|---|---|
| Ubuntu LTS | The most information out there. Pick this if unsure |
| Fedora | Newer packages. Leads into the RHEL family |
| Debian | What Ubuntu is based on. Focused on stability |
| Pop!_OS | Strong support for NVIDIA GPUs |
| Linux Mint | Beginner-friendly and stable |
For cloud-centered development you don’t need GPU support, so Ubuntu LTS is the safe choice.
Wrapping up
Rufus (the tool) writes the ISO (the materials) to the USB stick (the workbench), and the installer that UEFI starts (the worker) puts Ubuntu on the SSD. Thinking of it that way makes the whole process easier to follow.
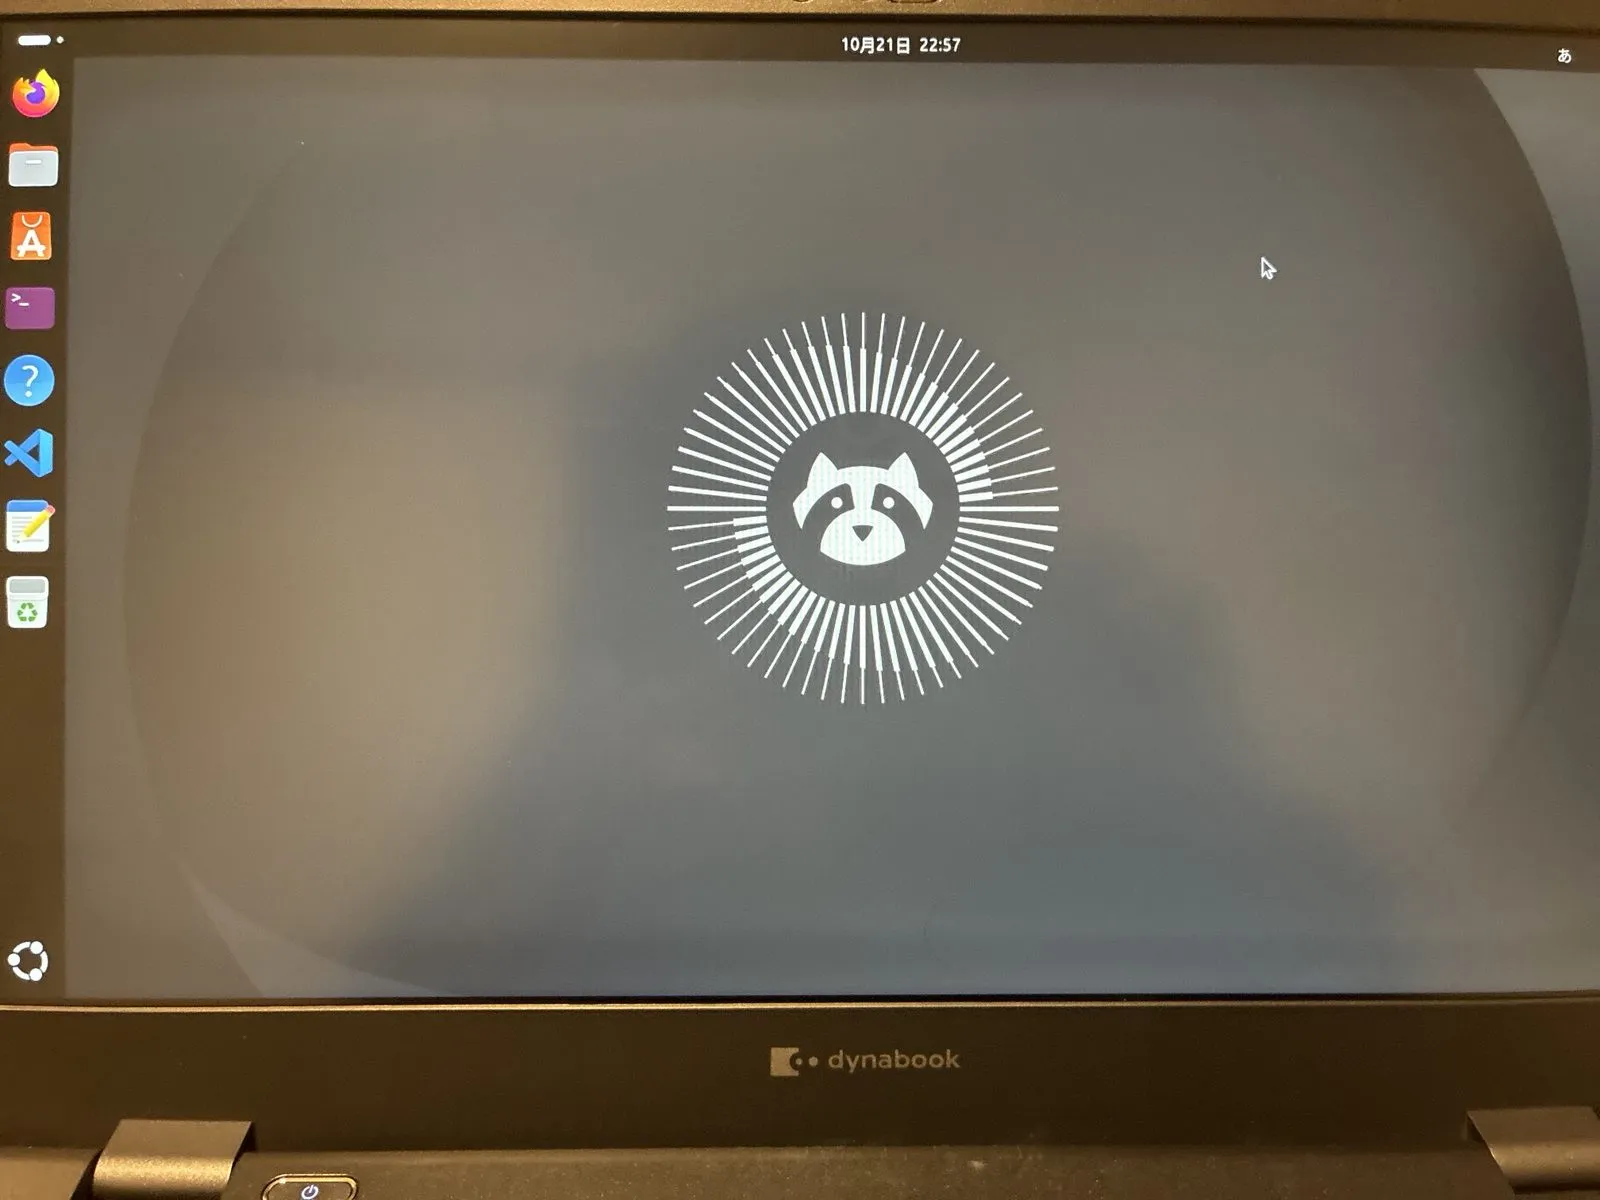
And with that, Ubuntu was up and running on my 845 g dynabook.
Amazing! So cool!
References
- Kazuki Takahashi, Yu-Gi-Oh! (Shueisha): the manga panel in the wrap-up
- Install Ubuntu Desktop (Ubuntu): USB stick size
- Rufus FAQ (Rufus): ISO Image mode and DD Image mode
- Comparing WSL Versions (Microsoft Learn): how WSL2 works and why Windows files are slow to access
- Advanced settings configuration in WSL (Microsoft Learn): WSL2’s default memory limit
- Ubuntu 26.04 release page (Ubuntu): the boot menu options, checked in
boot/grub/grub.cfgof ubuntu-26.04.1-desktop-amd64.iso - casper(7) (Ubuntu Manpage): booting the live session
- Linux kernel documentation, for the terms: VFAT, EFI stub (ESP), SquashFS, tmpfs, Overlay Filesystem
- UEFI Secure Boot (Ubuntu): signature checks through shim, and MOK
- OverlayFS storage driver (Docker Docs): layers in Docker images and containers